How To Create Appliqué Patches
Custom patches add personality and flair to clothing, accessories, and more. While traditional methods often require specialized equipment like a marrow machine, we’ll show you how to achieve professional results using your Melco machine and materials you may already have on-hand. In this guide, we’ll walk you through the step-by-step process of making appliqué patches. Whether you’re a hobbyist or a small business owner, you can follow along with the video or read the detailed instructions below to master this application.
Materials Needed:
- Heat transfer vinyl
- Twill fabric
- Heat press
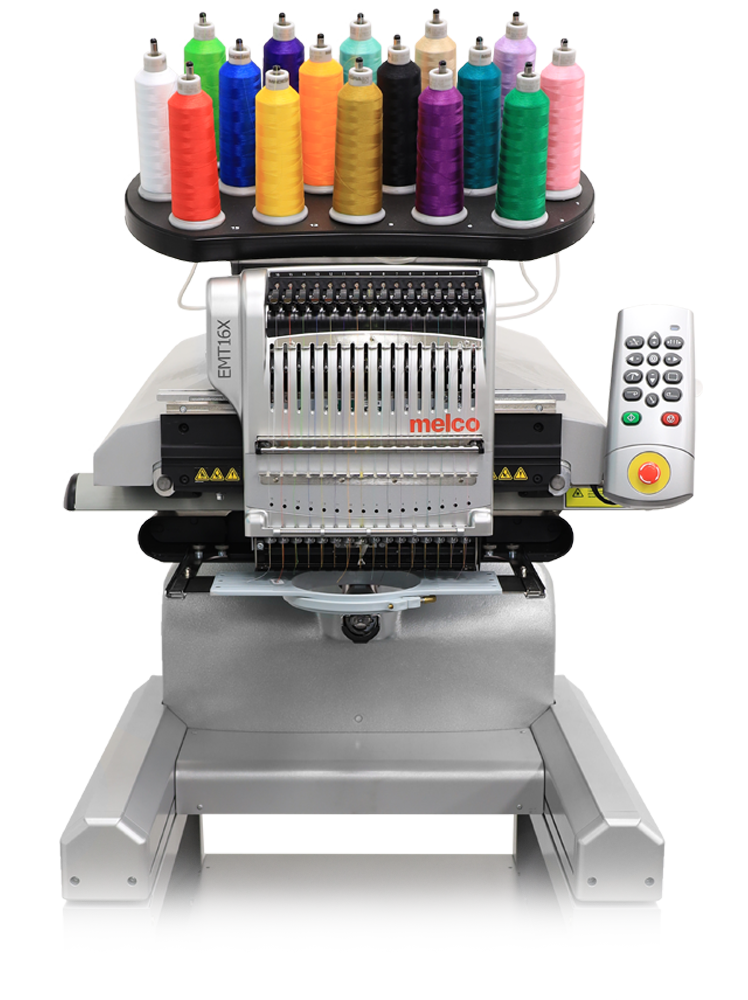
- Embroidery machine (e.g., Melco BRAVO or EMT 16X)
- Madeira Badge Master or similar stabilizer
- Spray tac
- Scissors
Step 1: Prepare Your Materials
Begin by selecting your vinyl and twill fabric. Consider the design and color scheme you want to achieve. For this demonstration, we’re using holographic vinyl, but feel free to experiment with different textures and patterns. Lay out your materials and cut to fit desired hoop (vinyl, twill, Badge Master, and backing).
Step 2: Heat Press
Set your heat press to the appropriate temperature and time for your particular vinyl or twill. (Typically, 350 degrees Fahrenheit for about 25-50 seconds works well.) Place your vinyl cutout onto the twill fabric and press it using the heat press. Repeat if necessary, depending on the type of vinyl you’re using.
Step 3: Placement Stitch
Hoop your twill fabric with the vinyl patch attached using a stabilizer like Madeira Ezee Cut Away. Set up your Melco embroidery machine with a design file for the patch with appropriate appliqué stops. Begin the embroidery process with a placement stitch around the perimeter of your patch design. This serves as a guide for accurate placement of the vinyl patch. Remove from hoop and cut to shape, following the outside edge of placement stitch.
Step 4: Applying The Patch
Hoop layer of Madeira Badge Master, load hoop to machine and start patch placement stitch. With placement stitch finished and appliqué stop applied to design, the pantograph will move the hoop out and wait for you to start. Apply spray tac to the back of the patch for temporary adhesion. Carefully place the patch onto the placement stitch on the fabric and start machine. The hoop will move back, and finish embroidered design for a professional finish.
Step 5: Final Touches
Once the embroidery is complete, remove the patch from the hoop. A heat gun or hot knife can be used to shrink any areas of Madeira Badge Master that may hang out. If desired, add heat seal backing to the back of the patch for easy application to garments or accessories.
Step 7: Enjoy!
Admire your handiwork! You now have custom patches ready to decorate hats, bags, jackets, and more. Experiment with different vinyl types, fabrics, and designs to create unique patches for yourself or your customers.
Conclusion:
Creating custom patches doesn’t have to be complicated or expensive, and is an easy way to add a personal touch to your projects. By following these detailed steps, you can achieve professional-quality results in no time. So gather your materials, fire up your embroidery machine, and start creating custom patches that make a statement.
Discover The EMT16X Advantage
In addition to being capable of networkable modularity, your multi-head setup retains all of these amazing capabilities of the Melco EMT16X –